These days most websites have a nice wavy background with images or sometimes just colors on them, I worked on a website with wavy background recently and I will love to share my experience and give a work-through on how to achieve that. I will be writing about the following:
- How to get and customize wavy images
- How to use them with background-color
- How to use them with background image
HOW TO GET WAVY IMAGES!
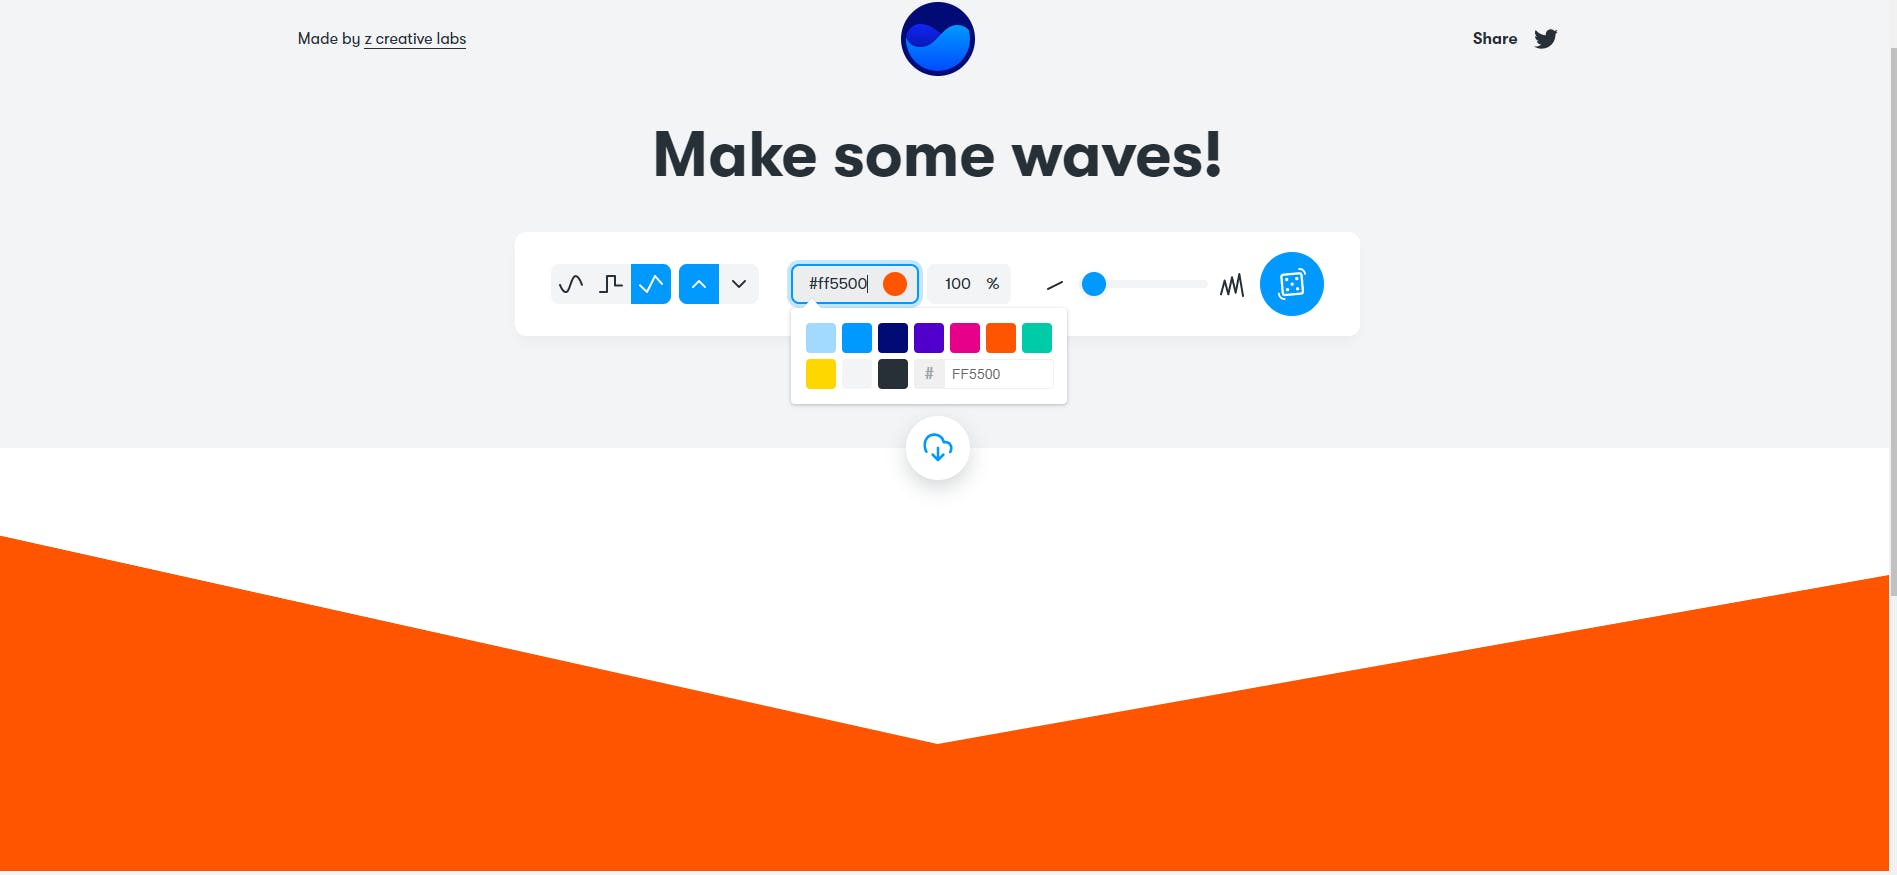
I'll recommend getwaves.io, I've made some svgs there and I think it's really easy to use,
You can customize it to your desired shape and color using the tools on the page

Then click on the download icon, you can either copy the svg code or download it as an image whichever works for you
 .
.
HOW TO USE THEM WITH BACKGROUND-COLOUR
<!DOCTYPE html>
<html lang="en">

<head>
    <meta charset="UTF-8">
    <meta http-equiv="X-UA-Compatible" content="IE=edge">
    <meta name="viewport" content="width=device-width, initial-scale=1.0">
    <title>Document</title>
    <link rel="stylesheet" href="style.css">
</head>
<style>
    nav {
        height: 200px;
        width: 100%;
        background-color: #000b76;
    }
 #wavy {
        background: url("wave.svg") no-repeat center center/cover;
        width: 100%;
        height: 700px;
    }
</style>
<body>
    <header>
        <nav>

        </nav>
        <div id="wavy">
        </div>
    </header>
</body>
</html>
Basically what I did here was to add a wavy image with the same color as the nav, you could just use the image alone but I want the header to be big, and adding too much height to the image might not give you a nice view.
How to use them with background image
<!DOCTYPE html>
<html lang="en">

<head>
    <meta charset="UTF-8">
    <meta http-equiv="X-UA-Compatible" content="IE=edge">
    <meta name="viewport" content="width=device-width, initial-scale=1.0">
    <title>Document</title>
    <link rel="stylesheet" href="style.css">
</head>
<style>
    header::before {
        content: "";
        background: transparent url("wave.svg") no-repeat center center/cover;
        width: 100%;
        height: 35rem;
        position: absolute;
        bottom: 0px;
        left: 0px;
    }

    header {
        height: 90vh;
        width: 100%;
        background: transparent url("https://static1.makeuseofimages.com/wordpress/wp-content/uploads/2017/02/Photoshop-Replace-Background-Featured.jpg") no-repeat center center/cover;
        position: relative;
    }
</style>

<body>
    <header>
    </header>
</body>
</html>
As seen in the code above, I used the css ::after selector, it is used to insert something after the content of each selected element. The content property is used to specify the content to insert. So I used a completely white wavy picture and positioned it at the bottom of the header.

Please do well to drop your questions and suggestions, this is my first technical article so I will love to get feedback on what I could do better. Thanks and have a bug-free code.
